Can You Put Acoustic Panels in a Bathroom?

Acoustic panels are becoming a popular wall covering choice for many homeowners. But can they be used in a bathroom? Bathrooms present a challenging environment, with high levels of moisture and humidity. As such, you need a wall covering that is specifically designed for these conditions. This blog will explore the use of acoustic panels in a bathroom, which types work best, and how to install them.
Why Use Acoustic Panels in a Bathroom?
Traditional bathroom wall coverings, such as tiles, reflect sound rather than absorb it. This can sometimes make bathrooms a little loud. Hard surfaces also impair sound clarity. Acoustic wall panels can help resolve both these issues. Acoustic panels are designed to reduce noise, both external and internal. This makes them perfect if you live in a flat, terrace or semi-detached home as they provide privacy both for yourself and your neighbours. These panels also enhance sound within a room, improving acoustics and creating a calming, relaxing environment.
Are Acoustic Panels Suitable for Humid Environments?
Most acoustic wall panels are made from natural materials such as wood, which does not perform well in rooms with high levels of humidity. These acoustic panels are typically not waterproof, so any moisture can cause irreparable damage, such as mould, warping, and peeling all of which is both unsightly and unhygienic. However, waterproof acoustic panels are available, which offer the perfect combination of practicality and style. So, before you buy acoustic wall panels for your bathroom it is recommended to check whether they are suitable for moisture heavy environments.
What Type of Acoustic Panels Work Best in Bathrooms?
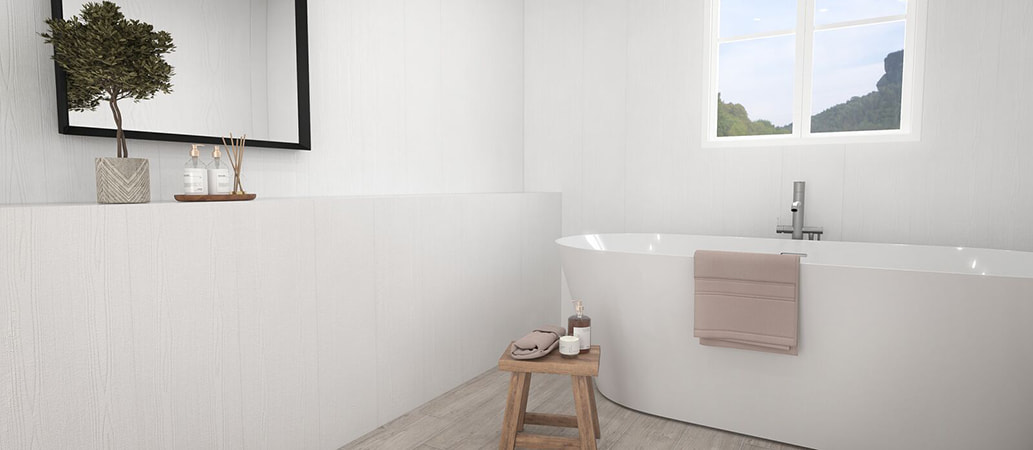
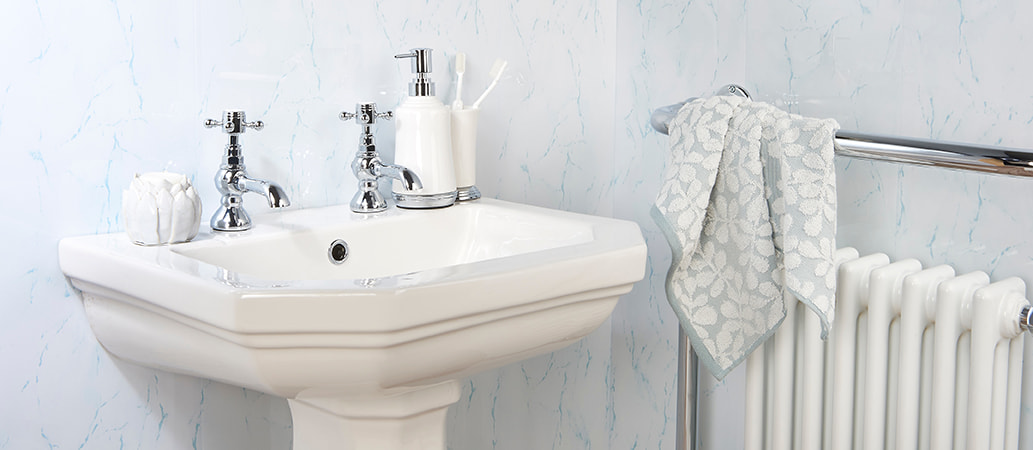
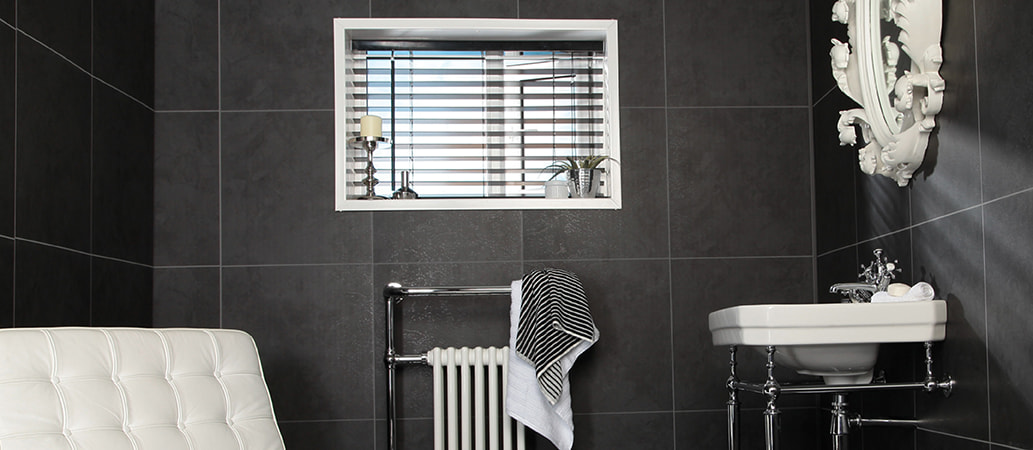
PVC or composite acoustic wall panels are perfectly suited to your bathroom. Panels constructed from these materials will most likely be waterproof, creating a stylish yet hygienic atmosphere. They require minimum maintenance to keep them clean and will not rot, peel or warp like traditional timber.
Waterproof Acoustic Panels for Bathroom Use
Waterproof acoustic panels for bathrooms provide the perfect partnership of practicality and style. They offer a wealth of benefits including:
- 100% waterproof, which makes them durable, long lasting, and hygienic.
- Easy to maintain, requiring only a wipe with a clean cloth to keep them looking like new.
- Aesthetically beautiful, creating an eye catching, yet stylish focal point in your bathroom.
- Noise reducing and sound enhancing, to create a calming atmosphere.
How to Install Acoustic Panels in a Bathroom
Acoustic wall panels are fairly simple to install, but we always recommend reading the manufacturer's instructions before you start, as installation instructions may differ from brand to brand. However, here is a brief overview of what the process involves:
-
Prepare Your Wall
Before attaching anything, clean your wall thoroughly to remove debris and old nails. Ensure the surface is completely flat and even for optimal results.
-
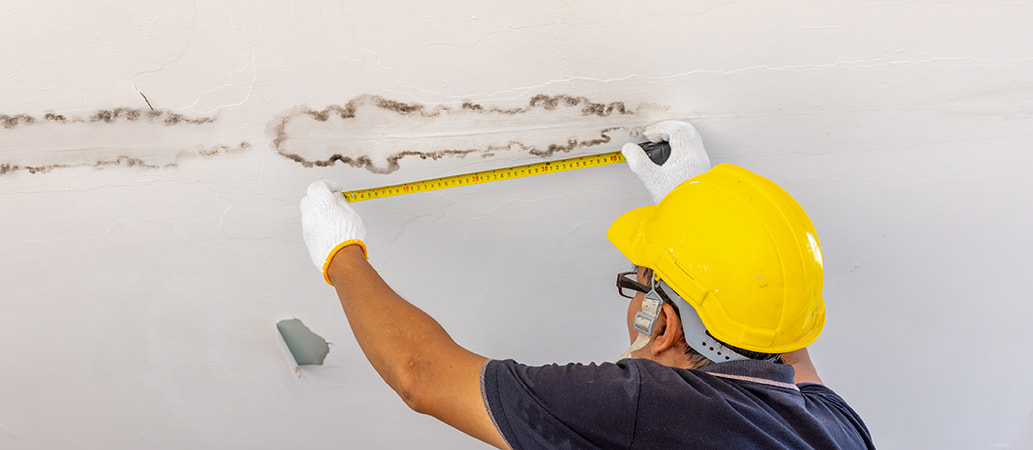
Measure the Wall
Measure the height and width of the area where you plan to install the wall panels. Mark the panel at these measurement points, as this is where you will cut. You will be installing the panels from left to right on the wall or from bottom to top (depending on your desired orientation).
-
Cut your panels
To cut the slats, use a hand saw, circular saw or jigsaw. For a clean cut, place a strip of masking tape along your cut line. Use a Stanley knife to accurately cut the felt backing. Panels should be cut with the front face of the panel facing down (i.e. the decorative side of the panel). Measure the cut piece against the wall without adhesive to ensure a precise fit. Be sure to sand any rough edges using a 180-grit sandpaper.
-
Apply adhesive and attach to your wall
Once you are confident the panel fits, apply the adhesive in a zig zag pattern on the back of the felt piece, ensuring even spacing along its length. We recommend a good quality grip and grab solvent free adhesive. Lift the panel into position (you may need assistance!), keeping it straight, and press it against the wall. Apply gentle pressure to ensure the adhesive adheres, holding it in place to allow the adhesive to set. After fixing the first panel to your wall, check the horizontal or vertical alignment with a spirit level to ensure it is straight. You are now ready to attach your next panel. Before pressing the panel onto the wall permanently you will need to make sure there is no gap between the panels and check their vertical or horizontal alignment again after each panel install.
Acoustic Panels vs Traditional Bathroom Wall Coverings
Many homeowners opt for traditional wall coverings such as paint or, the most popular for the bathroom, tile. Whilst these perform adequately, wall panels offer many advantages over and above these options.
- Being 100% waterproof, they are easy to maintain and help to create a healthy, hygienic environment.
- They do not require grout during installation, which helps to reduce the risk of mould developing.
- They are simple to install and can be fitted over uneven surfaces, or even over existing tiles.
- And finally, they are beautifully designed, allowing you to create the contemporary bathroom of your dreams.
Shop Moisture-Resistant Acoustic Wall Panels at National Plastics
If we've persuaded you to swap your traditional tiles for wall panels, but you still have a few questions, call our friendly, knowledgeable team today on 0800 22 77 77 for further help and guidance.
Related Posts

Smart Ideas for Ensuite Bathrooms
Renovating Your Bathroom with Zest Wall Panels
Can You Paint Over a Bathroom Panel?
How to Install Wall Panelling Around a Window